Windows: auto-start a nodejs script
Recently, I wanted to ensure that a small TypeScript project of mine (using apify’s crawlee) would automatically start whenever my Windows VM is (re)started. I don’t know why my VM spontaneously restarts. I couldn’t conjure up the motivation to debug that. I simply wanted a quick solution.
I had the following requirements:
- No extra dependencies on yet another npm package.
- Running in the foreground. When I connect to Windows using RDP or VNC, I want to see the Terminal (cmd.exe) window.
- Start automatically without waiting for me to login or anything.
Together with o3-mini with high effort, we came up with this plan:
- Write a small batch script that starts my script.
- Put that batch script in the Windows startup folder. There it gets picked up automatically.
- Enable automatic login. Turns out this is necessary due to my requirement of seing the terminal window when I connect.
Writing the batch script
I called it startApp.bat and put it in my project folder:
@echo off
cd /d "C:\path\to\your\project"
"C:\Program Files\nodejs\npm" start
Run the batch script on startup/login
- Press Win+R
- Type
shell:startup - Press enter. The Explorer should open with a folder.
- Copy your
startApp.batin there. Rename it to something sensible.
Enable automatic login
Sadly, this is necessary and more complicated than the other points.
Why necessary? Because I wanted to be able to see the script output in a Terminal window. This is only supported when the user account is logged in.
Is it a security problem? If you’d do that on a regular desktop computer, yes. That’s the biggest drawback. Luckily, I am running a locked down VM without critical data, so I don’t have to care.
- Open up a terminal
- Enter
control userpasswords2and press enter - In the dialogue, uncheck Users must enter a user name and password to use this computer.
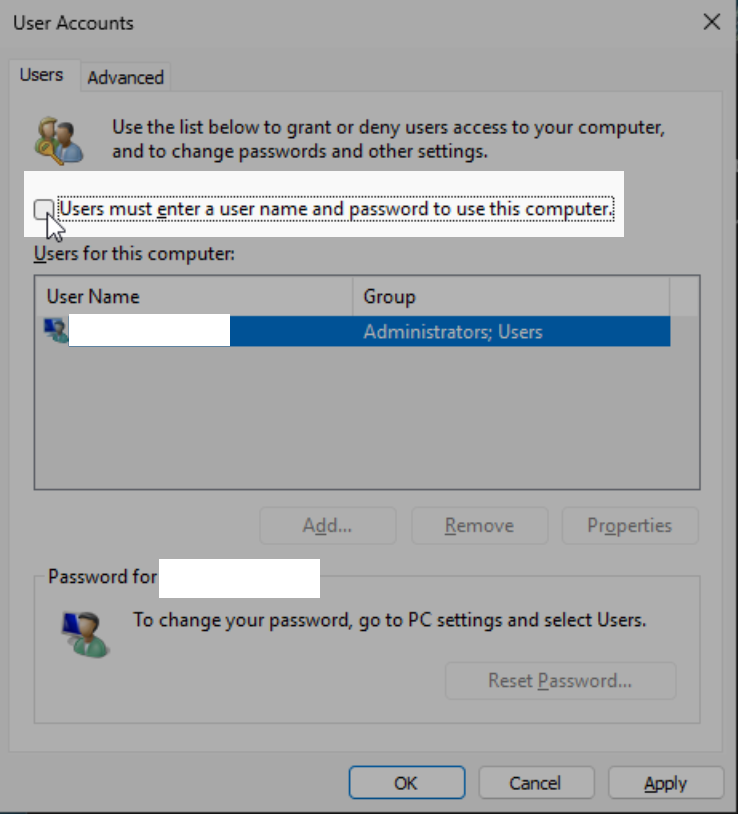
A screenshot of the Windows ‘User Accounts’ dialog. The ‘Users must enter a user name and password to use this computer’ checkbox is shown at the top, with a list of user accounts below.
- Click Ok.
Then, we have to mess around in the registry:
- Open up the Start Menu. Enter “Registry”.
- You will get a suggestion for the Registry Editor (regedit). Start it!
- Navigate to Winlogon:
HKEY_LOCAL_MACHINE\SOFTWARE\Microsoft\Windows NT\CurrentVersion\Winlogon - Set Auto-Logon Values:
- AutoAdminLogon: Double-click and set its value to 1.
- DefaultUsername: Ensure it has your username.
- DefaultDomainName: Set this to your computer name. In my case it was already correct.
That’s it. Try it out by restarting!